How to Make Pour-Over Coffee
Nothing flashy here—just good, solid technique
Blue Bottle was founded by James Freeman in 2002 with a simple yet revolutionary idea: to brew coffee to order, using the pour over method.
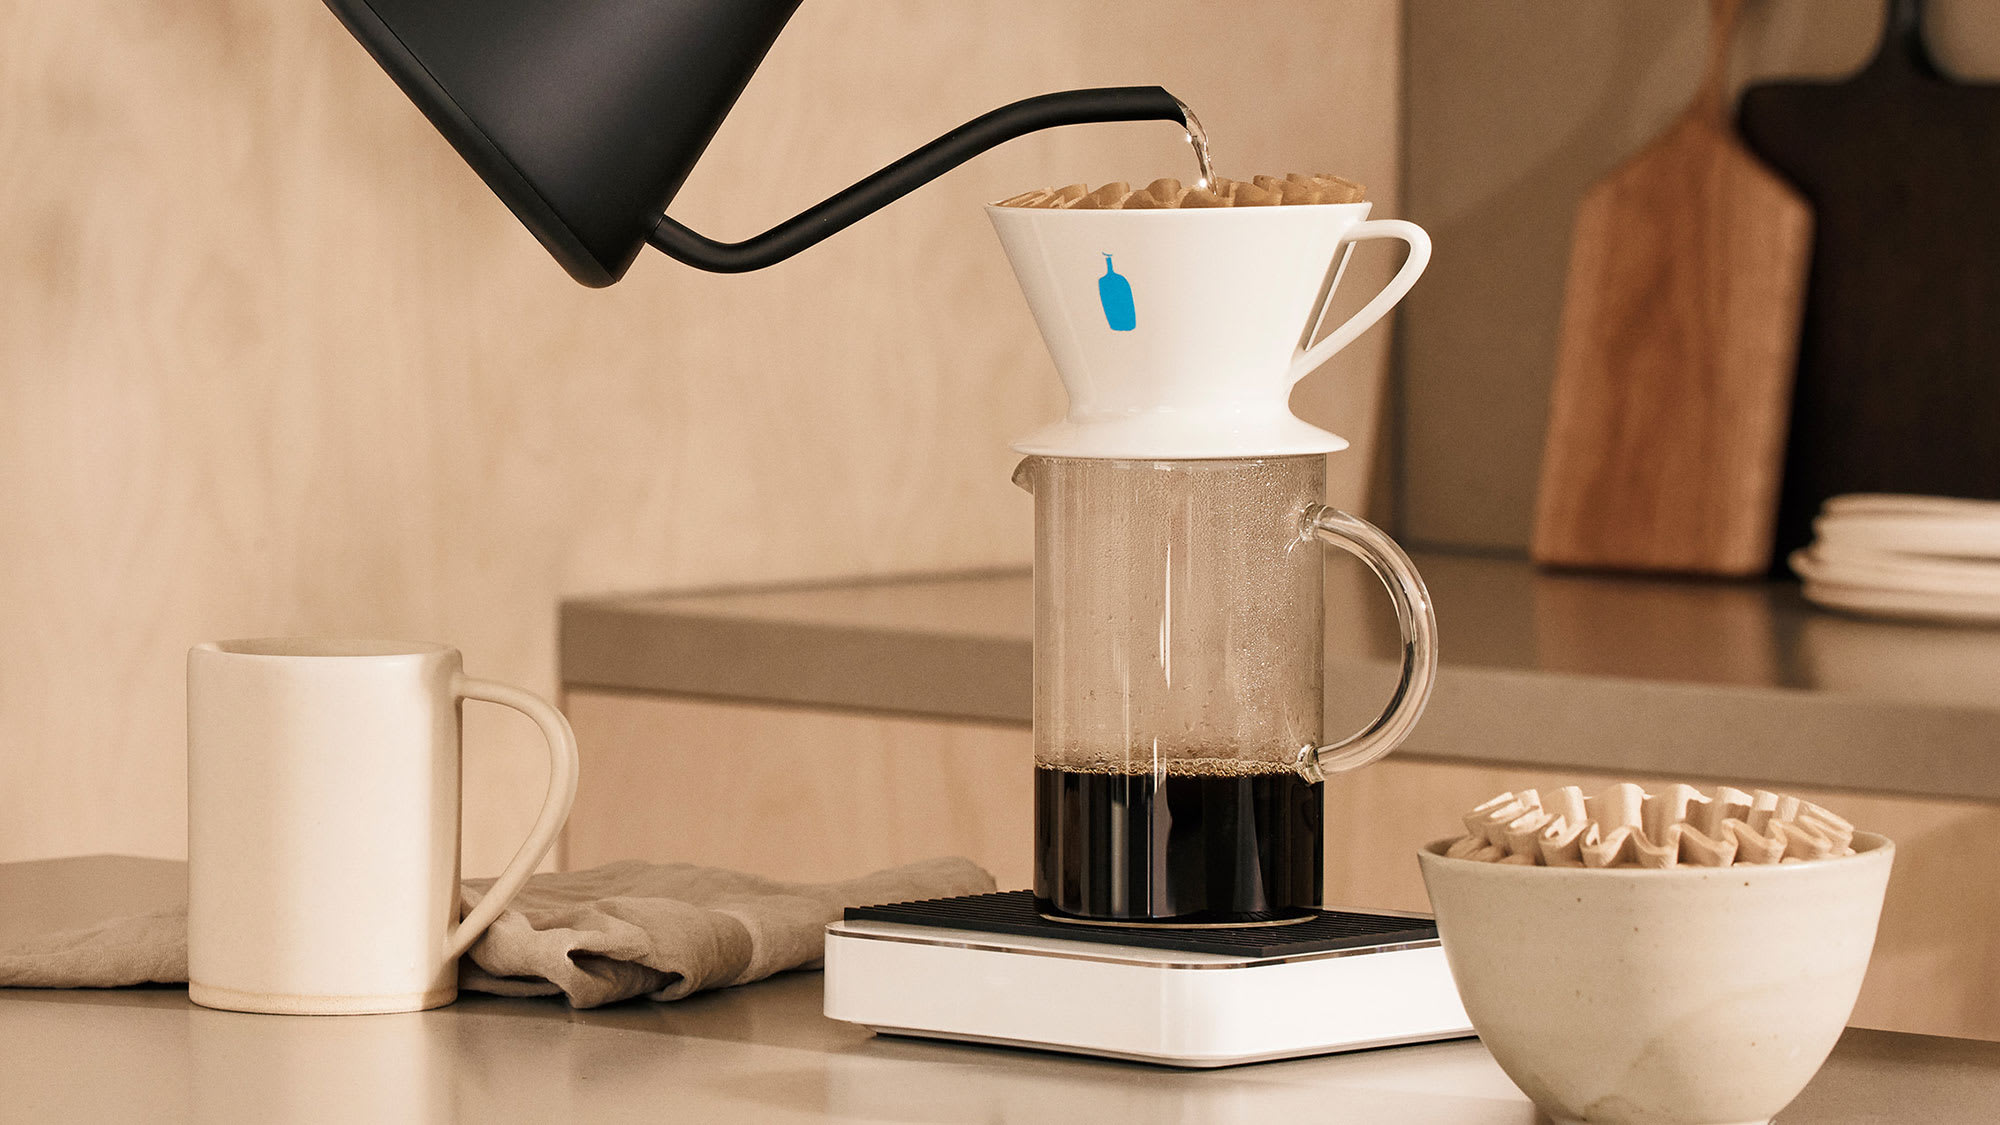
The ritual of the pour over is like a meditation: There’s no machine in your way, no flashing green lights, no electric power cords. Just you and a few simple tools. If you’ve never tried a pour over before, the final cup is reminiscent of one from a drip coffee maker, but noticeably more delicate and complex.
If you’re familiar with the method, we invite you to try our version. It lends itself to mastery both on the first try and the one hundredth. Find a few minutes to slow down: observe the bloom — that swell of the coffee grounds after the first pour and experience the first trace of coffee-drunk steam. Notice how the flow rate and the spiral of each pour can alter the flavors in the final cup. We’ve perfected our method over twenty years of obsessive tinkering and are proud to share it here.
Coffee Amount
22-30 grams
Grind Size
Sea Salt
Water
350 grams
200°
Brew Time
2 min
Instructions
Pour Over Coffee
1. Start by heating water to just below boiling, around 200 degrees.
2. Weigh out a dose of coffee, 30 grams for Blends and 22 grams for Single Origins.
3. Grind the beans to about as coarse as sea salt.
4. Add the to the filter and gently shake the dripper to create an even bed of grounds. Zero out the scale and timer.
5. The brewing process consists of four pours, totaling 350 grams of water. Begin each pour from the center then move in concentric laps outward and then back into the center. Each lap should take about one second. Try to keep your kettle spout 8 to 10 inches above the grounds as you pour, holding the spout at a steady height promotes even extraction.
6. For the first pour, known as the bloom pour, take three laps out and three laps back to the center. For each of the remaining pours, take five laps out and five laps back to the center.
7. To begin brewing, start your timer and begin the bloom pour. Pour three laps from the center out then three laps from the edge back in. For Blends, we add 60 grams of water and for single origins, we add 40 grams. The bloom pour saturates the coffee and releases carbon dioxide trapped by the roasting process.
8. For the second pour, we target a total water weight of 150 grams. This should take about 10 seconds. Start the second pour when the timer reaches 40 seconds. Remember to increase your concentric laps to 5 out from the center and 5 in from the edge.
9. For the third pour, we target a total water weight of 250 grams. This should take about 10 seconds. Start the third pour when the timer reaches a minute 10.
10. For the fourth pour, we target a final water weight of 350 grams. Start the fourth pour when your timer reaches one minute, 40 seconds.
11. Once the water completely passes through the grounds, fill up your favorite mug and enjoy.

Signature Blends
Explore the perfect coffee to get the most enjoyable pour over