Introducing Sumatra Kerinci Solok Radjo Wet-Hulled | Shop Now
Milk Steaming Guide
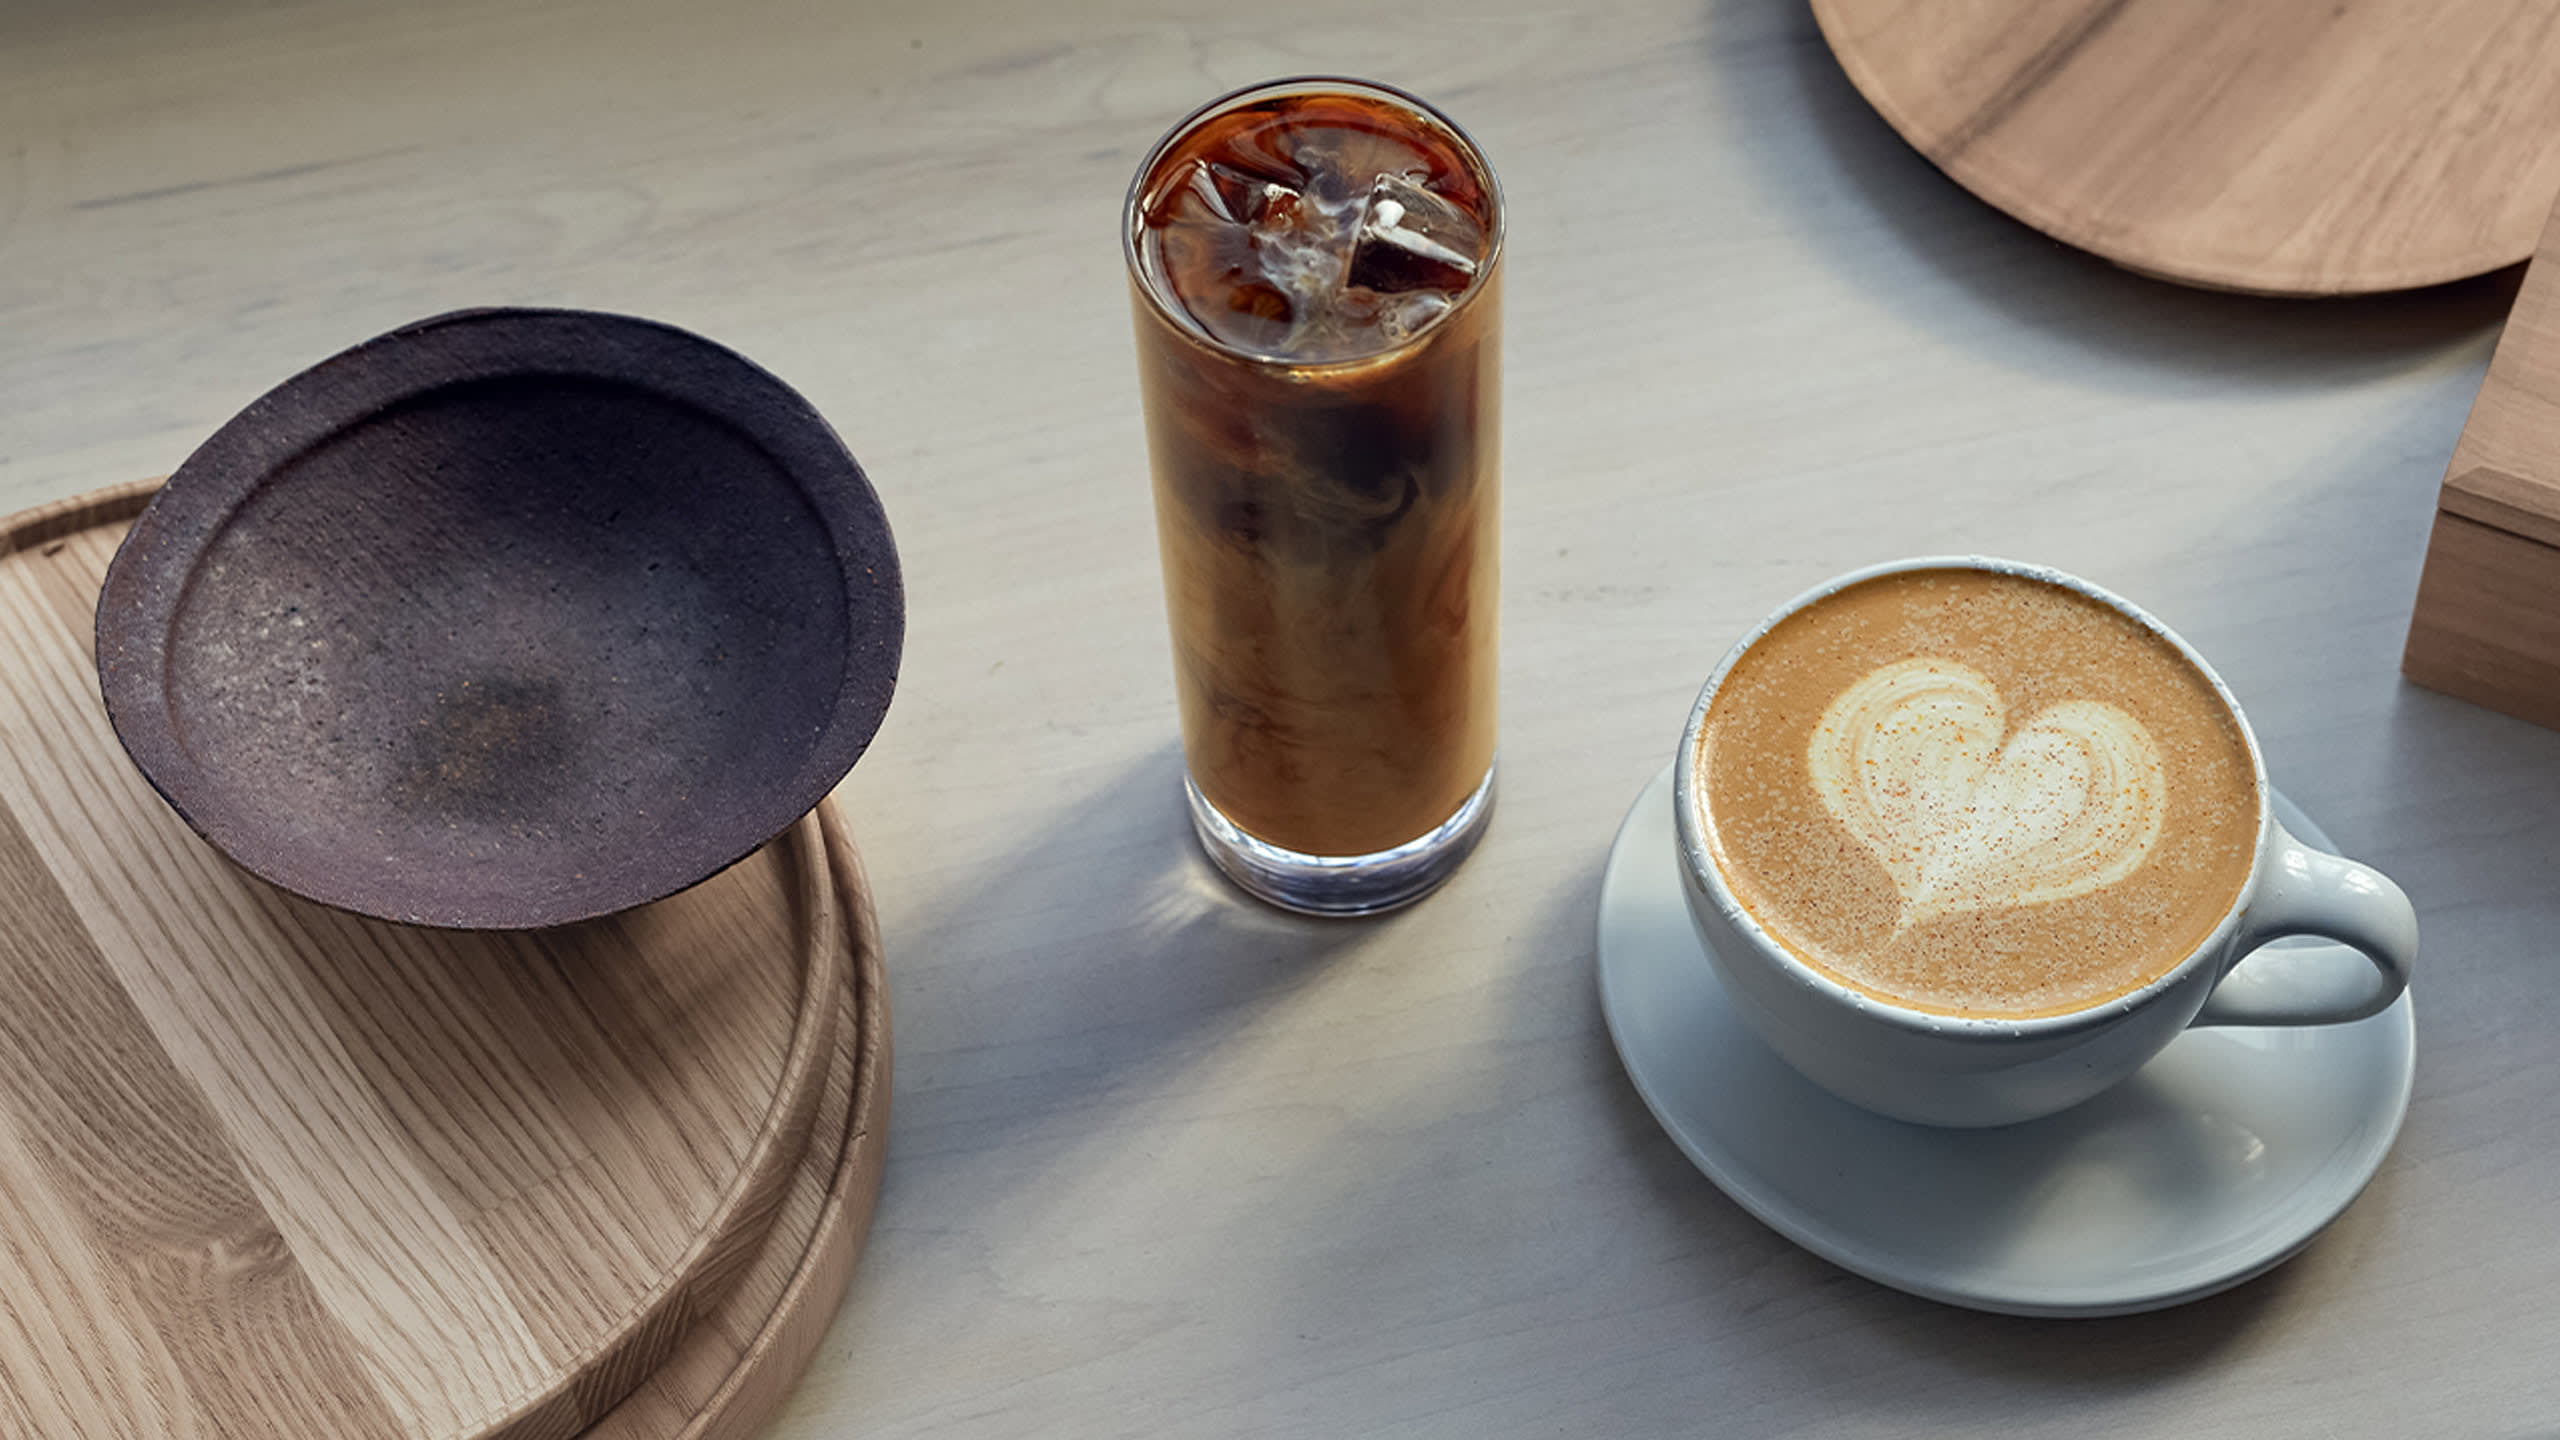
Creating Coffee's Companion
More than a canvas for latte art, steamed milk brings warmth, texture, and gentle sweetness to coffee. When aerated just right, it transforms into a silky layer that both softens and elevates the flavors beneath.
Pitcher
pitcher
Milk
8 oz
Share
The Art of Steamed Milk
The Art of Steamed Milk
1. Clear the Steam Wand
Turn on the steam wand to flush it of any excess water.
2. Pour Your Milk
Pour 8 oz of your milk of choice into the pitcher.
3. Position Your Wand
Before turning the steam wand on, place it in the milk at a steep angle in either of the top quadrants (see photo). The tip should be about half an inch below the surface and not too close to the edge of the pitcher.
4. End Your Areation
The volume of the milk should expand to cover the steam wand tip, ending the aeration. If the milk doesn’t stop aerating on its own, lift the pitcher slightly (a half inch or so) to submerge the tip. Once aeration stops, hold the pitcher steady in its position to prevent additional aeration.
5. Hold Position
Maintain this position and allow the milk to spin in a silent whirlpool until the milk has reached about 140 degrees. If the milk is tumbling around rather than whirlpooling, adjust the angle of your pitcher.
6. Turn Off the Steam Wand
Turn off the steam wand, set down the milk, and immediately clear and wipe the wand with the steam wand towel. No milk residue should remain.
7. Tap Your Pitcher
Tap the pitcher firmly on a flat surface. This will help pop any potential bubbles. If you need to tap the pitcher more than a few times, you may have too many bubbles and need to start again.
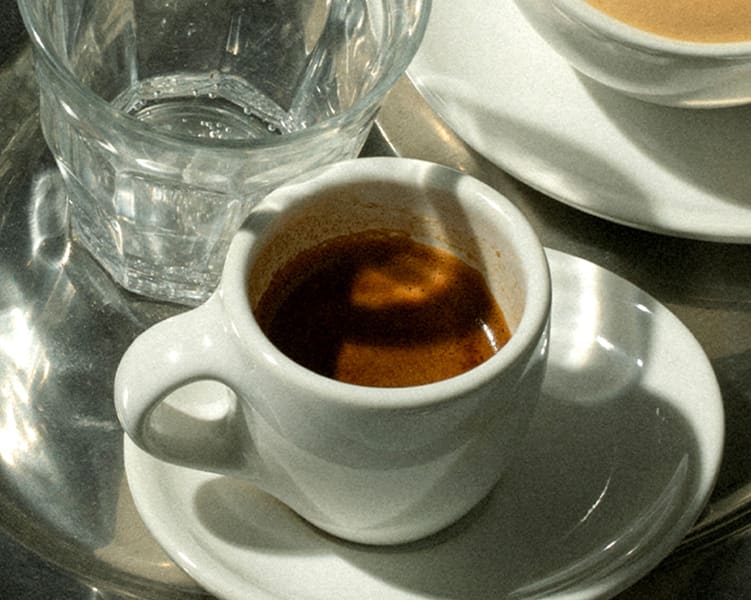
8. Swirl and Pour
Swirl your milk vigorously to keep the microfoam consistent and to “polish” the surface of your milk, leaving it glossy. Immediately pour it into your coffee, starting at the center about 4 inches from the surface while holding your mug at a 45 degree angle. Once the cup is a little over half full, lower the pitcher until the spout hits the rim of the cup and increase the speed of your pour. This is the time for any art you'd like to pour. For more on pouring latte art, take our virtual class.